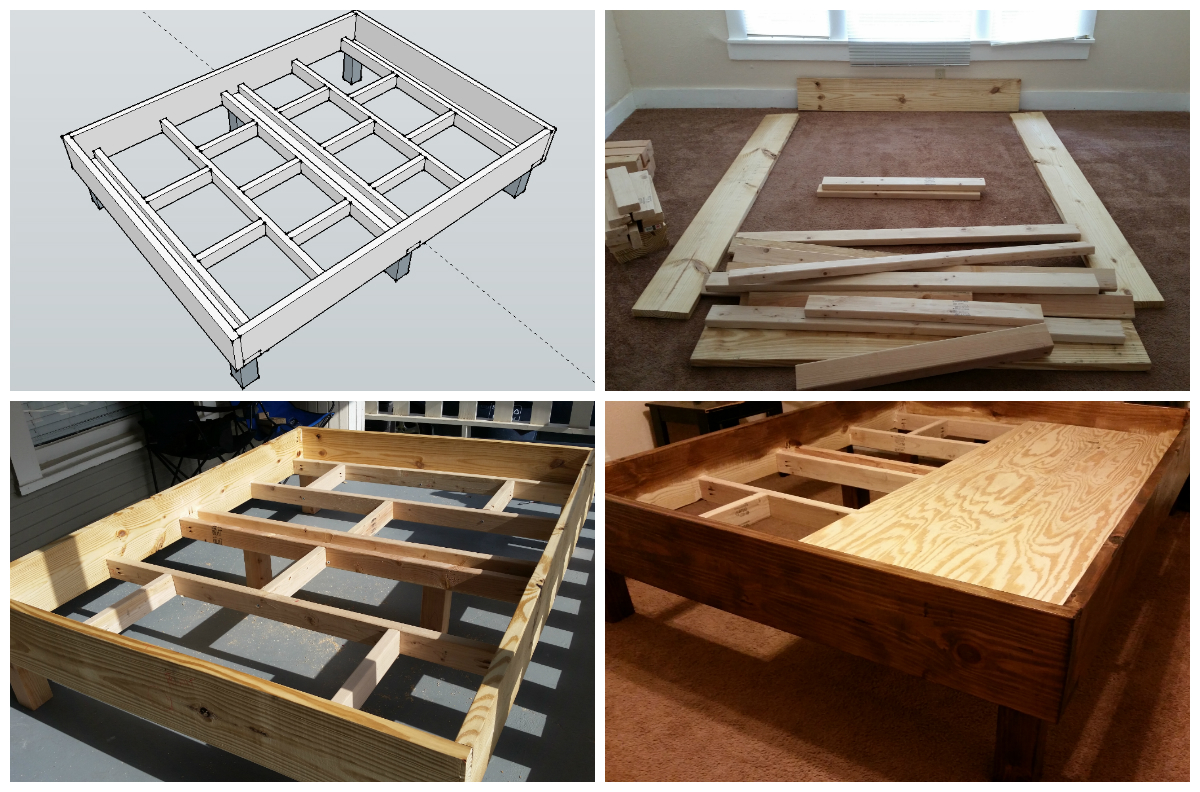
My first DIY Project – Rustic-Style Bed Frame
I went mattress shopping to find out that mattresses are expensive. On top of that bed frames are expensive, unless you build it yourself!
I decided to do my first DIY project to save money and have something that I built myself. So how does a first time DIYer start? Google of course! I Googled “Top DIY Bed Frames” and came to this website: 16 Gorgeous DIY Bed Frames. I had some great inspiration and finally chose Mrs. Fancy Pant’s design. I liked the simple design and the “rustic” look.
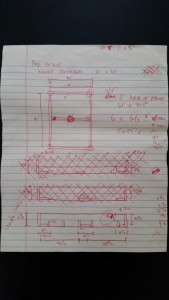
I did, however, make some changes to the plans. You can see my first sketch here. 
Here were some of the changes:
1. I wanted a more substantial sized frame, so I went with 2x10s instead of 2x4s
2. I wanted to keep it all wood, so the legs are 4x4s instead of pipes.
3. I made cuts into the 2x10s for the supports rather than attaching them from the bottom (the cuts weren’t pretty)
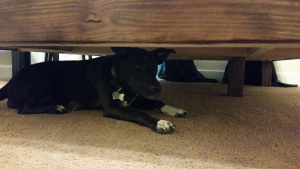
4. I made the legs 10″ tall so that my dogs can go underneath it and not be squeeze. Here is a preview pic: 
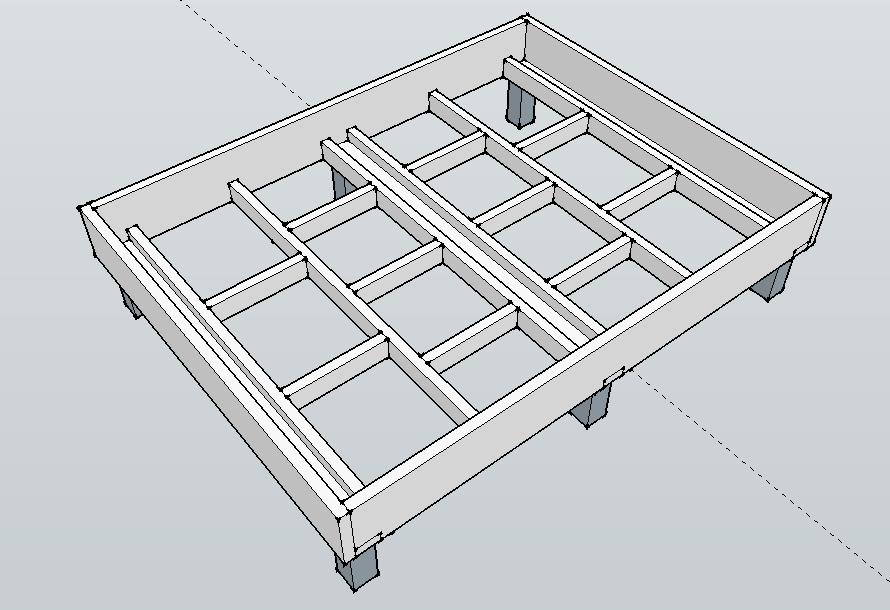
After those changes and my sketch, I actually used SketchUp 3D. I wanted to make sure my measurements were correct and that I had the correct inside dimensions for the new mattress. Here is a a screenshot of my SketchUp 3D model. It is not fancy or anything, but I was able to verify all the dimensions for my cuts. 
If you would like the SketchUp model I created, please feel free to message me and I can shoot you an email. I would love to chat and help out as well.
This sums up the design phase of my project. I will be completely blogging about my first DIY project experience. Stay tuned for the Construction Phase.
Thank you for taking the time to check out my DIY project.
– Sam
