
My first DIY Project – Rustic-Style Bed Frame – Construction Phase
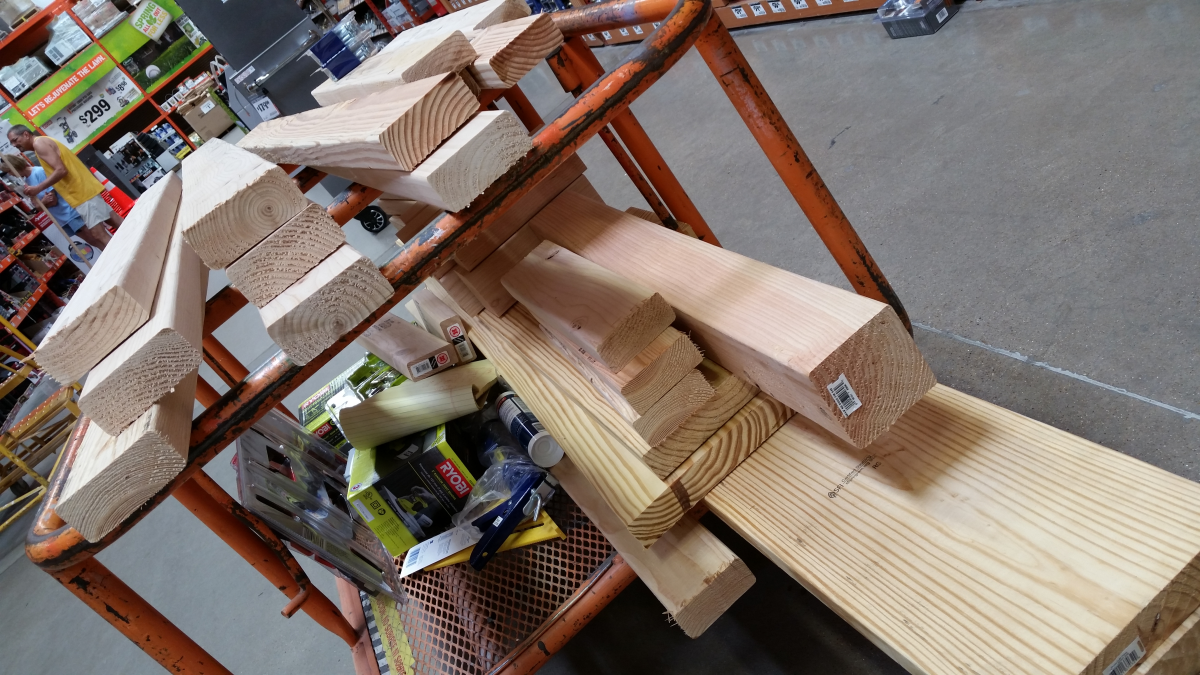
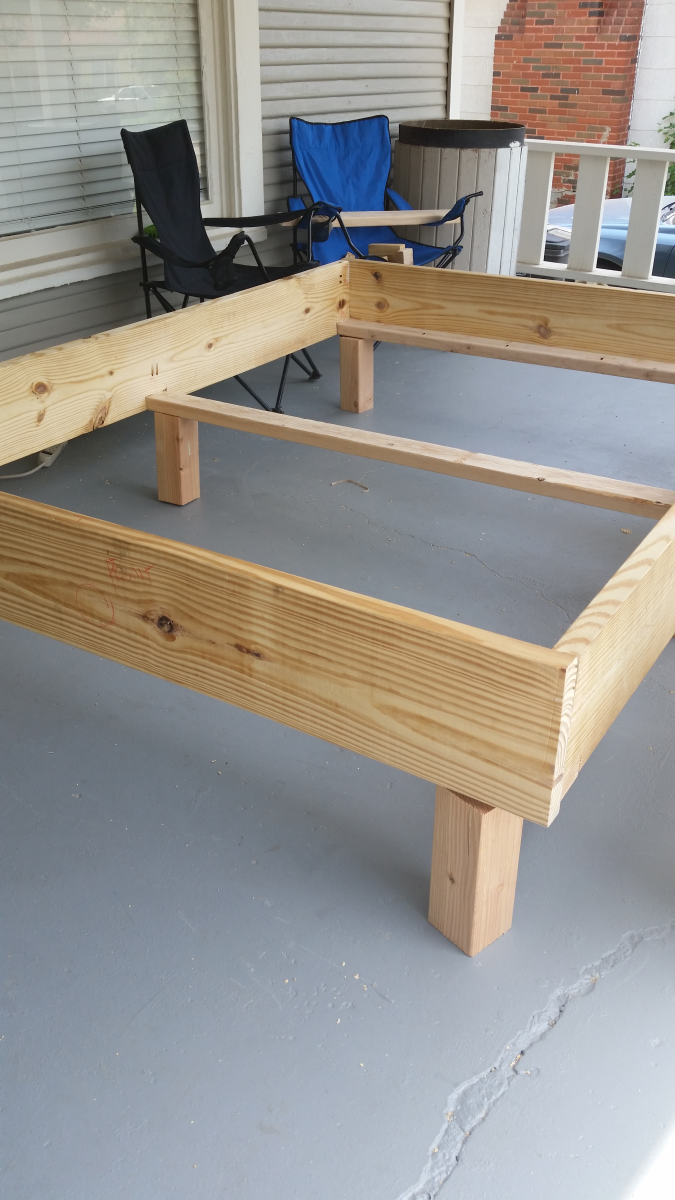
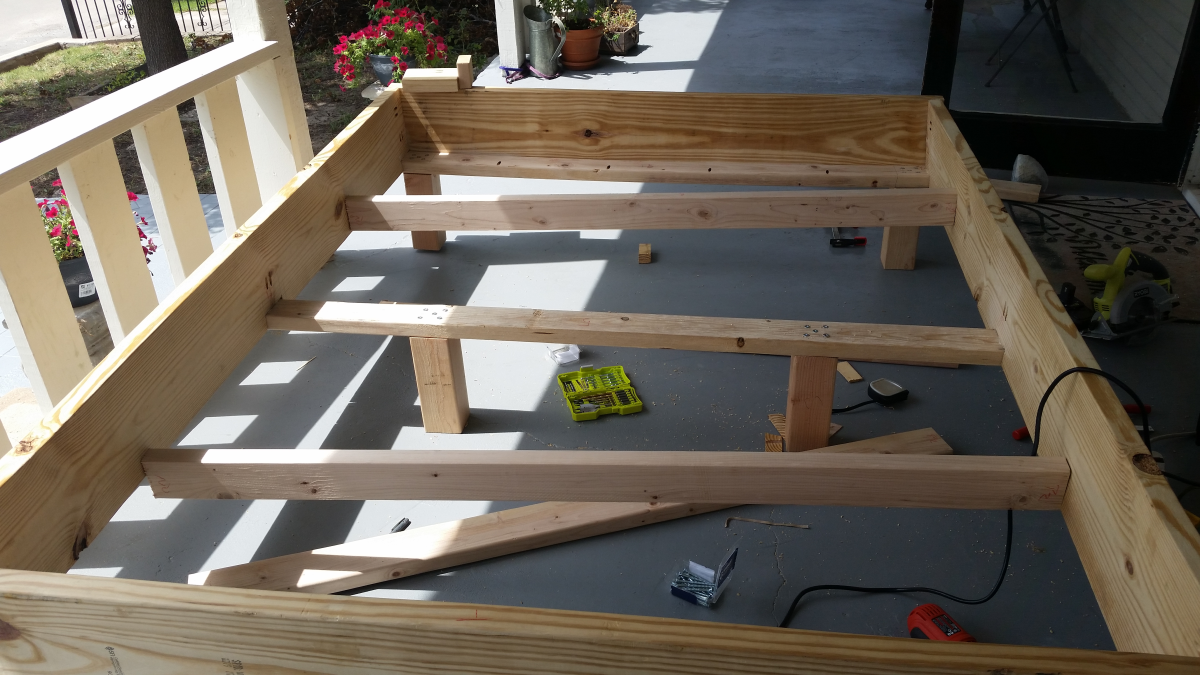
 After I designed the bed with the help of Mrs. Fancy’s Pant’s, I hit up Home Depot. There I got some help to precut the lumber so that it can fit in my car. As a note, I still got the lumber cut longer than my measurements just in case the lumber expanded or contracted. This is the picture of me test fitting the design of the bed.
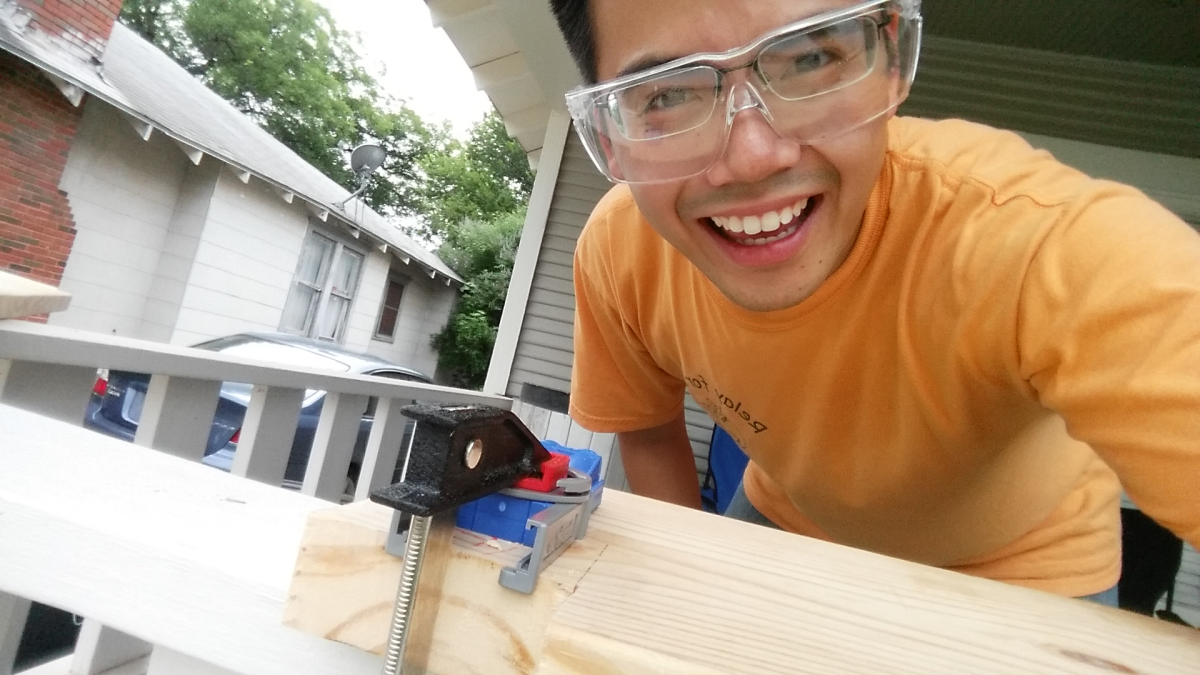
 Here is a picture of me cutting the notches for the sideboards. I did not have the correct tools to cut this notch, but I gave it my best shot. I figured this was going to have a “rustic” look, then it didn’t have to be perfect.
 I decided to take a picture of my using the Kreg Pocket Jig. This tool is a life-saver and makes it easy to attach your pieces together. I thought it was a pricey jig, but you should get one. It is a versatile furniture tool.
 After cutting the notches on my board and using the pocket jig, I created the exterior frame. What I realized by trying to put this together is that my 2x4s warped and my 2x10s were also warped. So my measurements, that were precise (precise-ish), actually didn’t quite work out for me. But once again, it didn’t have to be perfect.
 Here are the legs. They are not installed yet. I just wanted to see if the legs needed to be custom cut since the lumber was warped. They needed a little adjustment, but not too much. I did, however, change the placement of the interior legs. I moved the legs more towards the middle to better handle the weight.
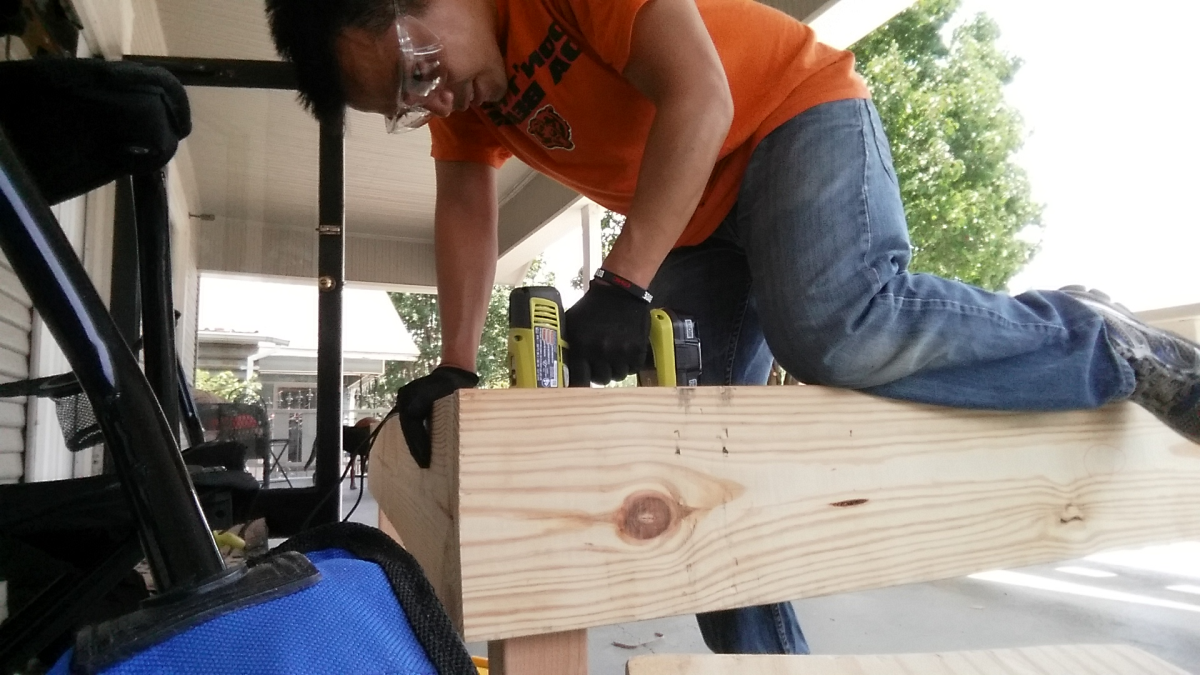 This is me actually attaching the legs. I later realized that you can adjust the drill to have more torque. That would have been nice to know before I finished this project. But, on to the next one I suppose.
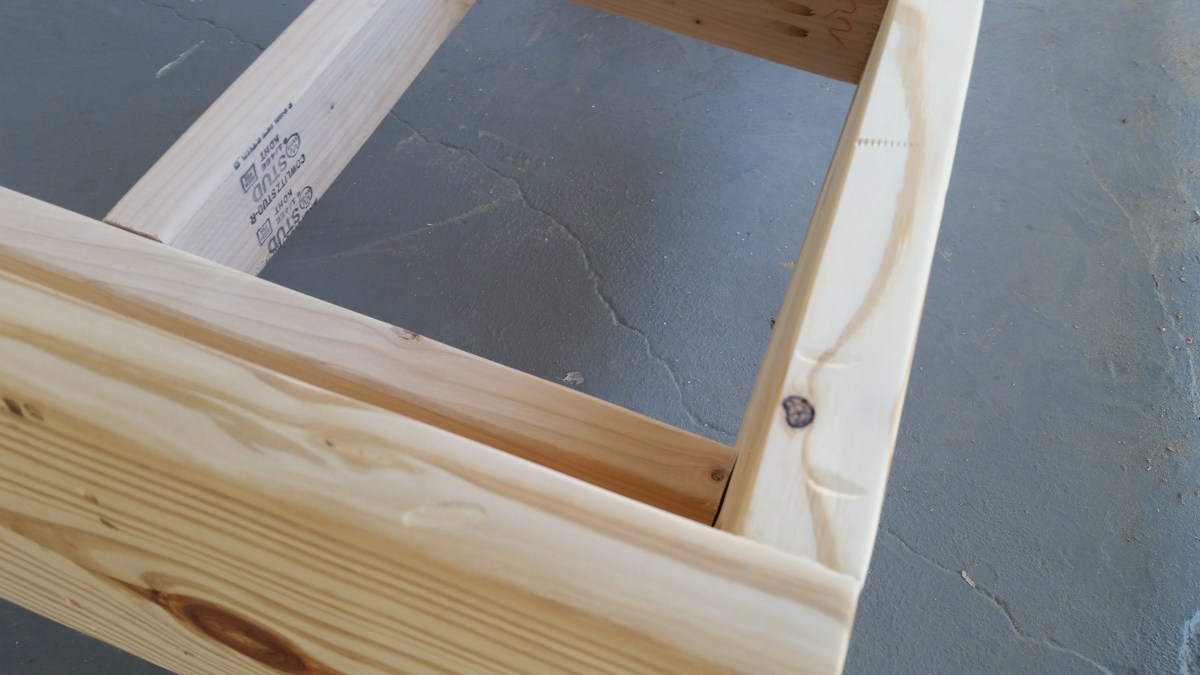
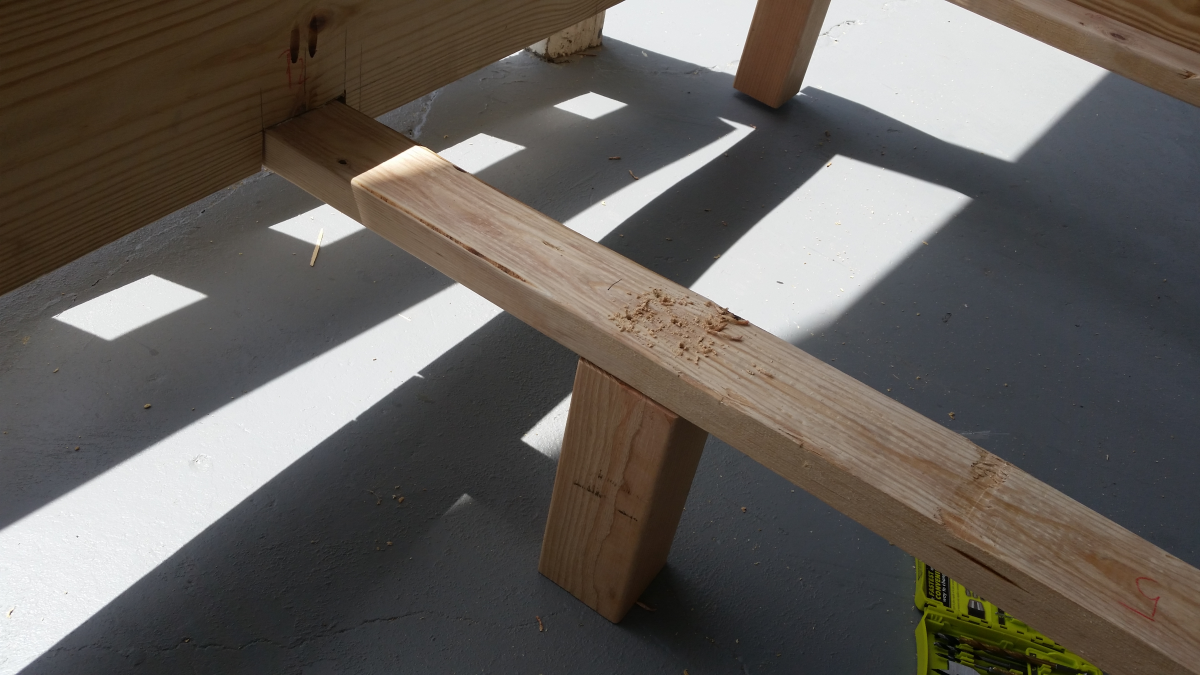 Here is the middle leg where I brought it in more towards the middle of the frame rather than keeping it on the edge.
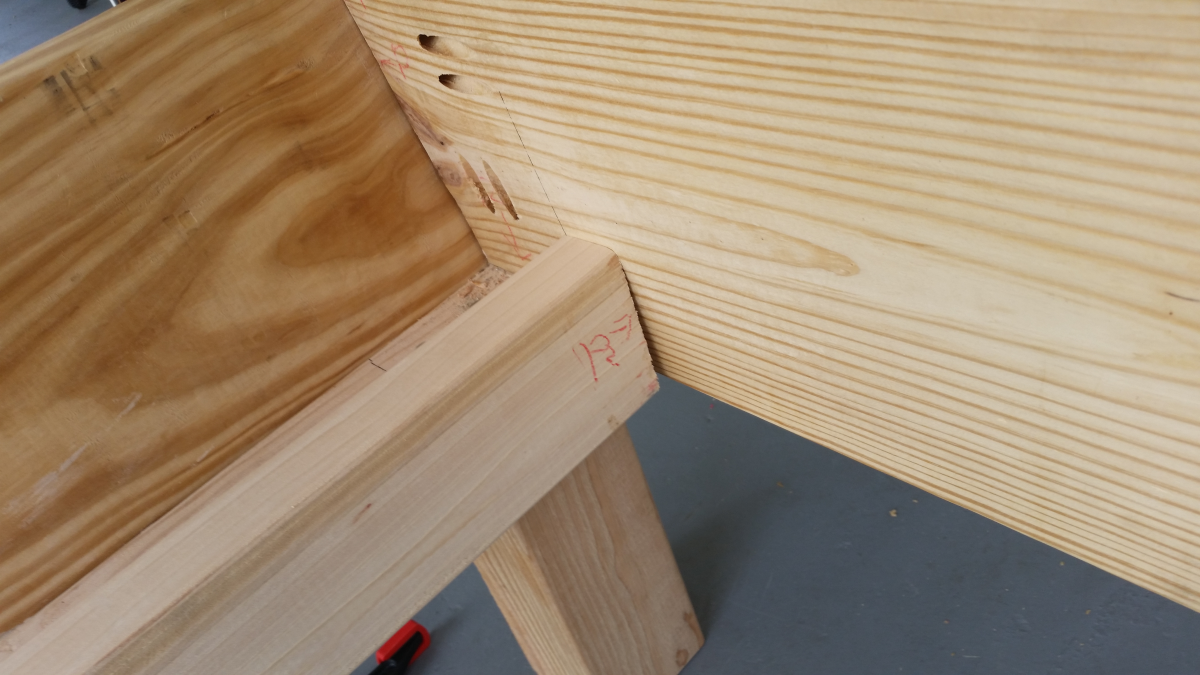 In my design phase, I was worried that the 2×4 that is carrying the weight from the notches would break. So I added this additional 2×4 in the interior to support the 2×10.
 Here the the additional 2x4s for the support. I was prefitting them and since the lumber was warped, I did have to make additional cuts for them.
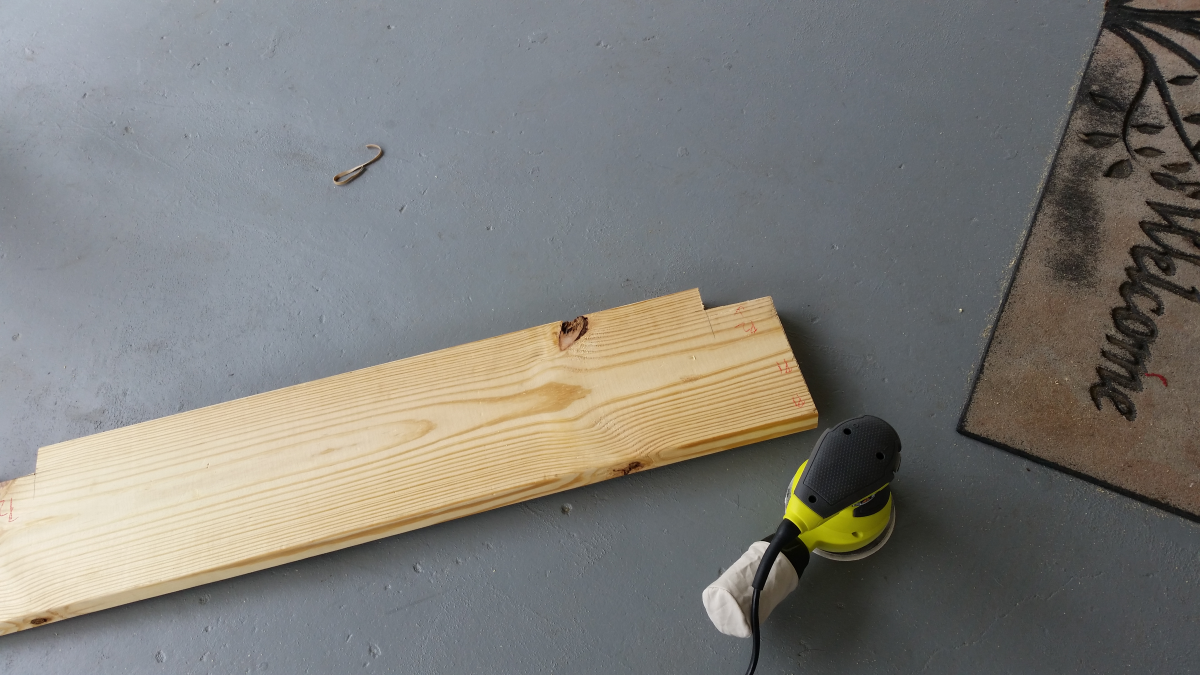
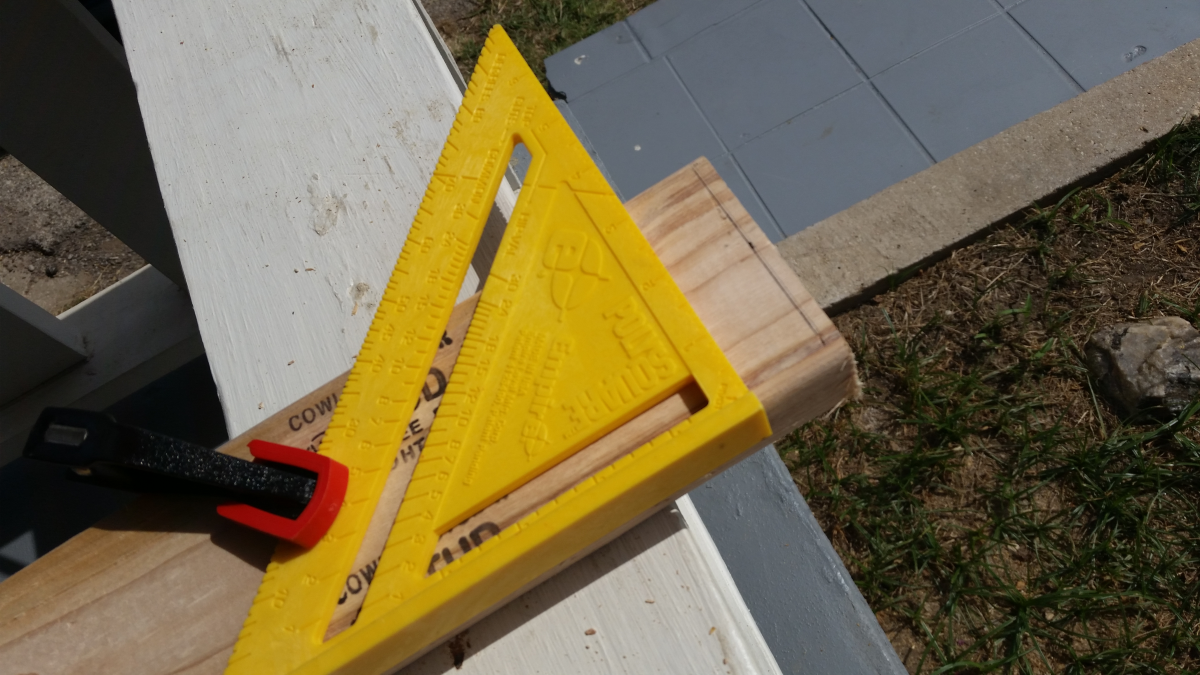 And this is my cuts for the additional 2x4s. This is also the first time I am using a speed square. I learned that I am just not that speedy. But, I did learn a neat trick. I used the speed square as a guide for my circular saw. In the picture, I moved the speed square 3/4 of an inch to cut at the line.
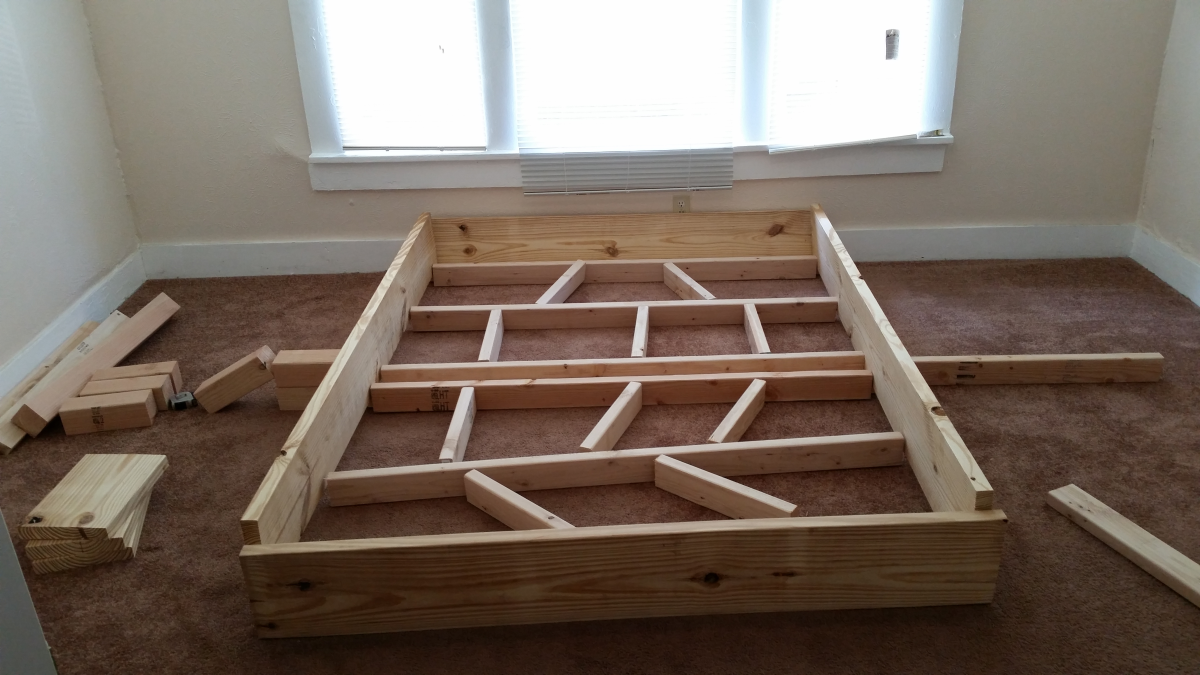
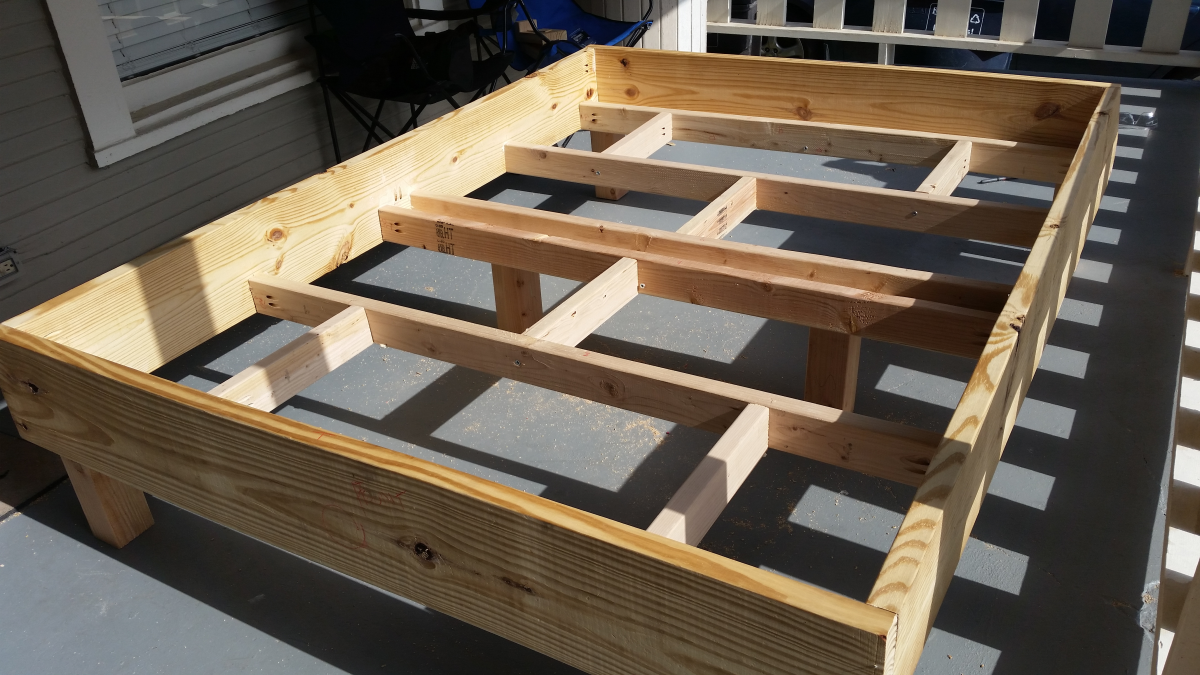 Now it is starting to look like a bedframe that can support an actual queen size bed. For added support, I have the cross supports staggered.
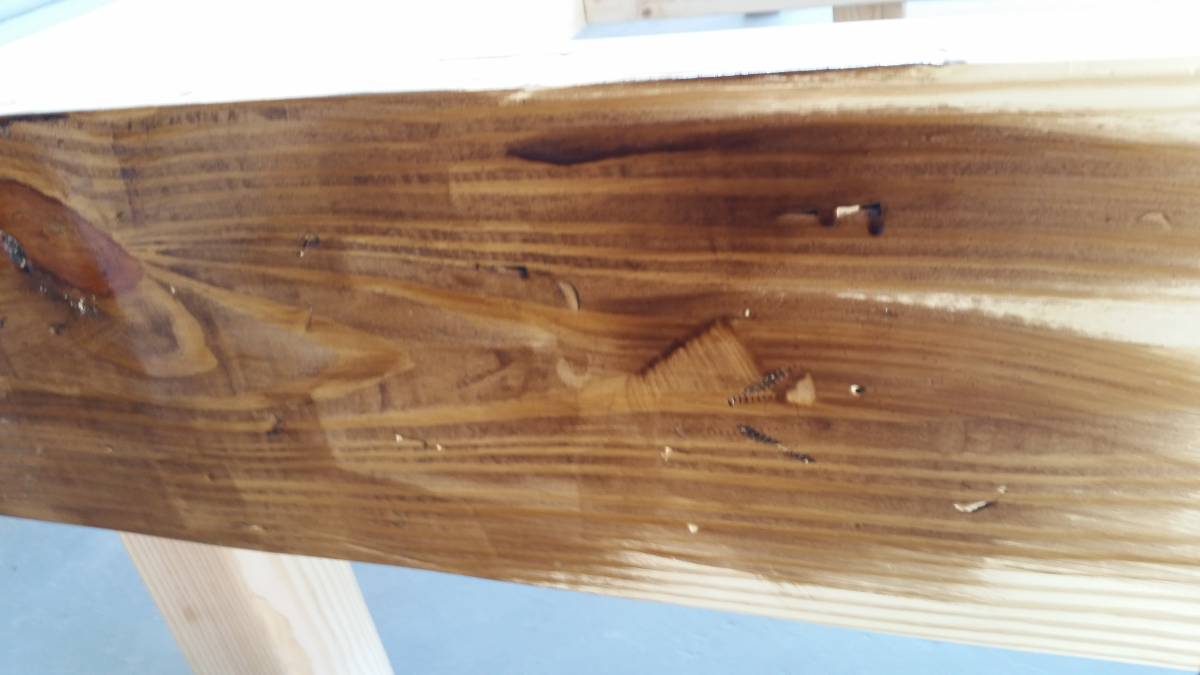
 The fun part has now begun. To give it the aged look, I “distressed” the wood by hitting it with my hammer, ingraining some screw markings, scratching it with a nail, etc. This is what it looks like pre-stain.
 This is what it looks like with the first coat of stain.
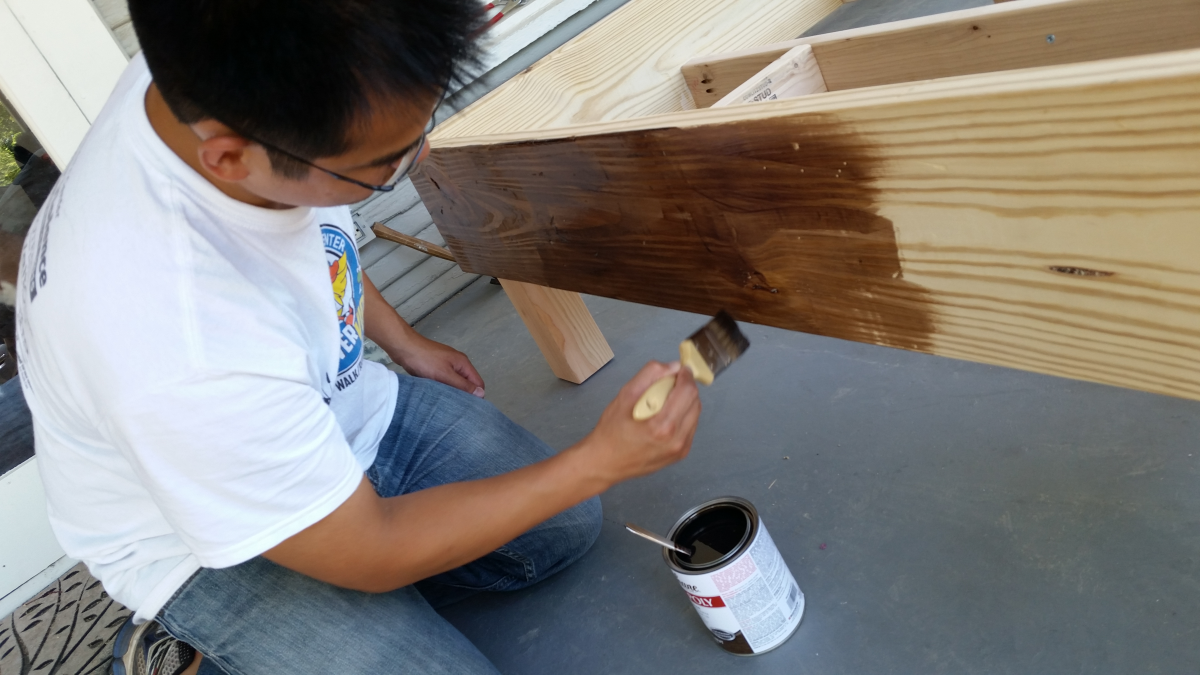 Here is me starting to stain the wood. I used a stain+poly combo to cut down my time. After all, look at my form…it’s horrible.
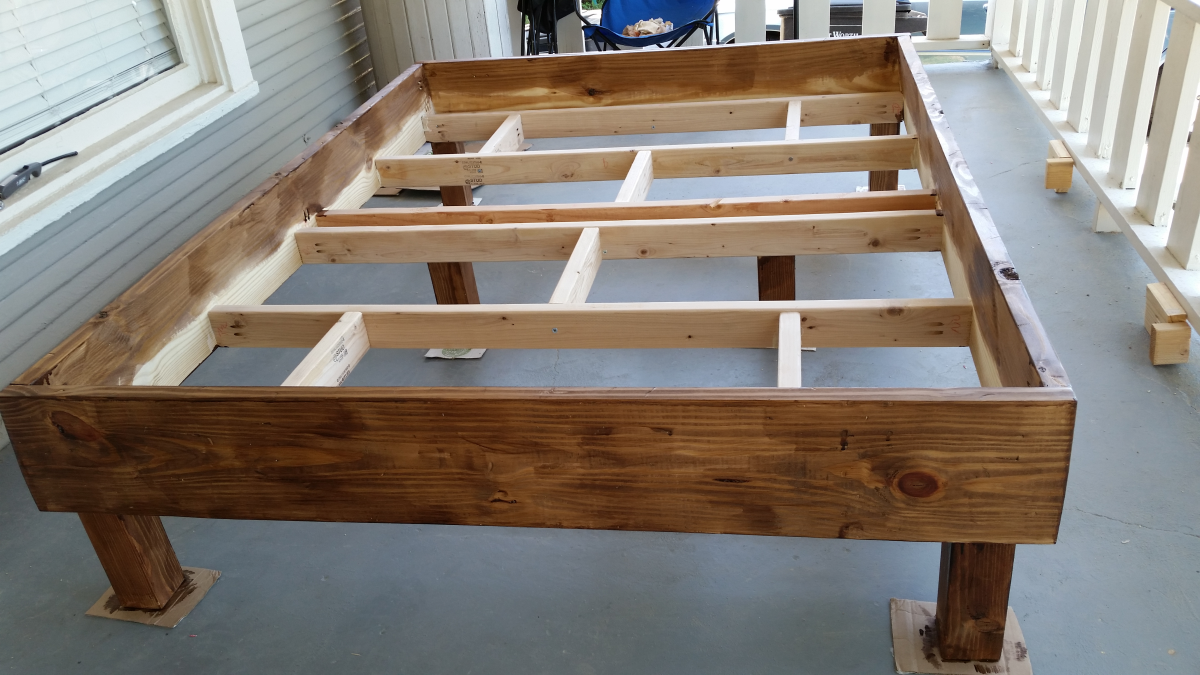 I stained the exterior of the bed frame and a portion of the interior. I decided not to stain the whole thing because no one would really see the supports. I also wanted to save some of the stain for my next project, which is a farmhouse style table. That project will be a different post.
Thank you for checking out the construction phase of my project. I will show you some final pictures on my next post. I know I am a rookie, but if you have any questions or need any help, please feel free to reach out.
Thank you,
Sam